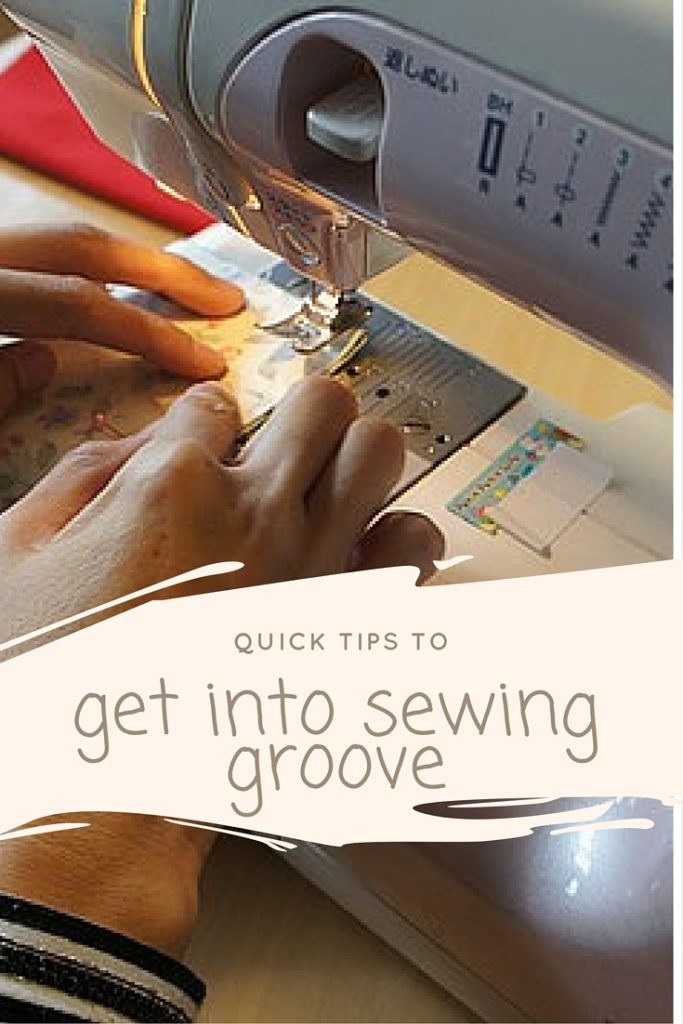
Whether you are a beginner who is interested in sewing as a hobby, or a pro who sews as their chosen profession, we all need a little help now and then with our sewing projects.

My last post talked about how you can conquer that embarrassed feeling all seamstress and DIYers experience when they create something.
Today, I decided to write another installment to my “How to Make your Sewing Rock” post. I have gathered together some important tips that both beginners and professionals can use while at their sewing machines.
Check out this convenient list to solve sewing problems, enhance your skills and to make more professional-looking projects.
1. Start the first stitches by hand
When you crank the hand wheel yourself when beginning the first stitches, you help define the placement of the coming stitches.

You also make sure to note any problems with the needle going into the fabric, especially if the fabric is thick or you are doing several layers at once, so you can make adjustments now before going too far into the project. You can also ensure the thread is working correctly and won’t jam.
2. Use tape to prevent marking ink from disappearing
For air-soluble disappearing markers, you have a certain amount of time before the ink vanishes on the fabric. This is a great advantage as you don’t have to try to remove the marks by hand and risk the chance of ruining the fabric. Unfortunately, if you stop the project for a certain length of time to run an errand or cook a meal, the marks may be gone by the time you return to your sewing machine.
A piece of Scotch magic tape over the mark keeps it visible until you can return to the project because you are stopping the ink from being exposed to the air. Then just remove the tape and the mark will begin to disappear as you sew.
3. Re-thread when there is a problem
Does your sewing machine skip stitches, creates tight stitches or makes stitches that are too loose? Re-thread the machine. By re-threading the bobbin and the spool, you can check for issues such as built up lint or dust in the machine, adjust the tension, make sure the needle isn’t damaged and check the thread itself for quality issues. Often you will fix the problem without having to call a service technician to fix the sewing machine.
4. Always save your scraps for stitching practice
Whether you are a pro or a beginner, there will come a time when you try out a new stitch for a project.
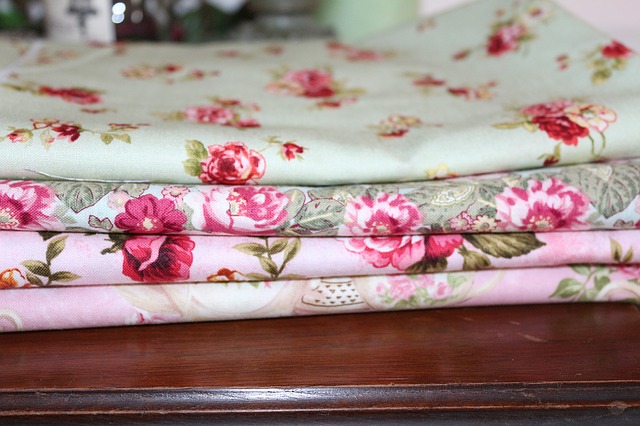
Saving the scraps from your previous projects allows you to practice the stitch without ruining new fabric. Never skip practicing your sewing, because you don’t want to ruin a great craft design by just winging it.
5. Use masking tape as a guide for doing top-stitching
Sewing straight top-stitching lines can be a pain. Here is another tip that uses tape in a creative way. With a piece of masking tape, run it along the fabric where you want to place the topstitching. Then use the tape as a guideline as you place the stitches at the edge of the tape. It is also an ideal solution when you are working with fabric and you don’t want to use a fabric pen to place marks on it.
6. Keep the needle down to create a more professionally-looking corner
You might be in the habit of lifting the needle whenever you are re-positioning the fabric. Yet in this instance when you are making a corner stitch, you want to keep the needle down when you come to the point of the corner.
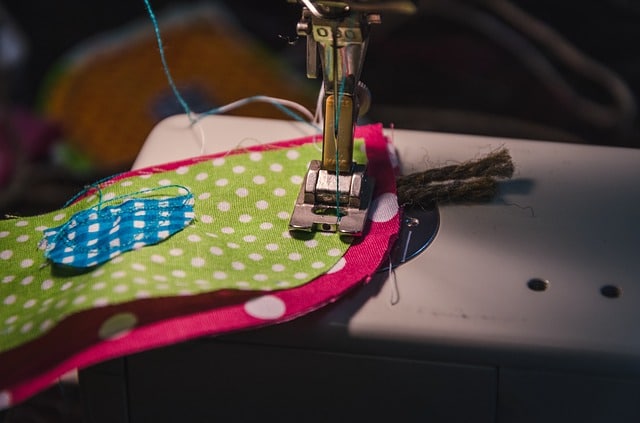
Then gently move the fabric about and start sewing again. The corner stitch will look more straight instead of the humped look that sometimes happens when you start stitching the other side of the corner with the needle raised.
7. Always press seams while sewing your project
It does seem like a hassle to stop sewing your project and instead move to the ironing board to press your seams. Yet it is an important step that shouldn’t be skipped.
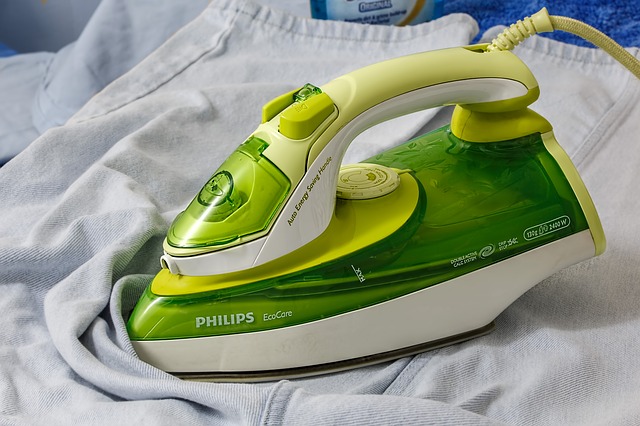
Pressing a seam smooths out the thread and makes it blend more into the fabric until it disappears. It also removes thread puckering. Learn how to properly press a seam and get into the habit of doing this step when the pattern instructions tell you to so you have a more finished project.
8. Go slow!
This tip cannot be stressed enough to beginners and pros. You are in a rush to get the sewing project done because you need to start cooking dinner, pick up the kids from school, or do the other dozen things on your to-do list. Yet the faster you go, the more your stitches look horrible until you pull the material from your sewing machine in disgust. Just because you sewing machine can go 1 trillion stitches per minute doesn’t mean you have to go at that top speed. Slowing down and going at a more comfortable pace will give you better results.
Hopefully these tips can be used for both beginners and pros to help them create wonderful projects with ease. If you have any tips to share, please send them along. Help improve the sewing community so everyone can create a wide range of sewing designs as they can enjoy this hobby more.

