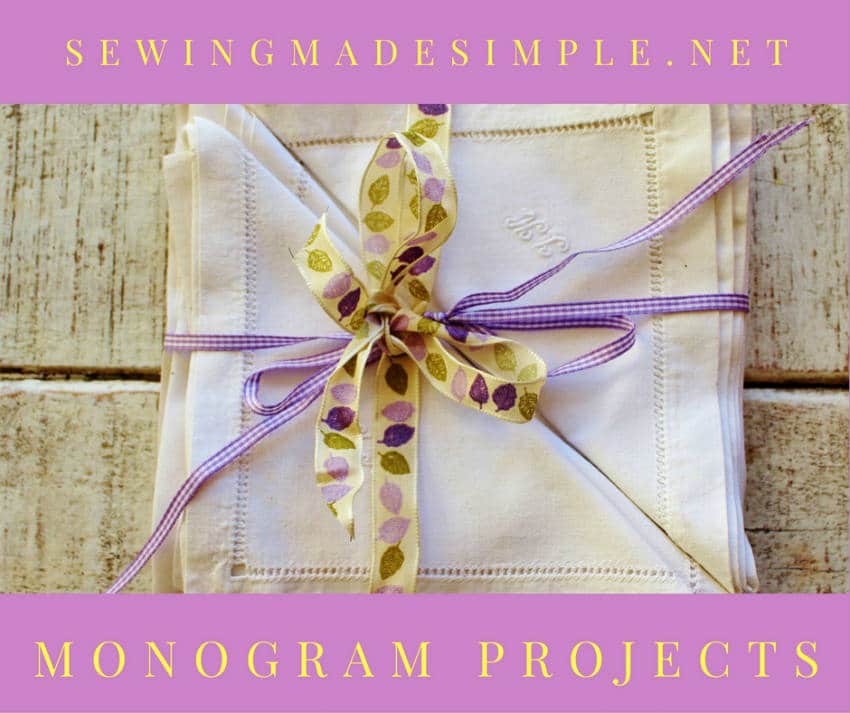
There is just something about monograms that can make a project extra special. Placing a person’s initials or name on a sweater, shirt, towel, pillow or purse can make the project more personal.

It also makes sewing gifts feel as if they were specifically made for someone that you love and appreciate.
While monogramming can seem tricky, especially when you are working with fancy patterns, it can be accomplished on your regular sewing machine. You don’t have to go out and purchase a separate embroidery machine. In addition, you won’t need to purchase any special presser feet.
What you will need to buy is interfacing, and fabric that contains fusible interfacing. You will also need letter, number or name stencils, although you can create your own with your computer and printer.
Start with the Stencils
First, you will need to figure out what you want to monogram. You can pick up stencils from your local craft store. Yet if you don’t want to hop in the car, you can print out the letters using your computer.
Start out with large block letters or numbers so you can get the hang of doing corners and points. Then print out the letters and cut out the center part to make your own stencils.
Once you have your stencil ready, pick out your fabric based on the type of project you are doing. If you are making a craft that has a bit of stiffness to it, such as a purse or tote bag, you can select fabric that has infused interfacing. Place the fabric flat on a surface and position your stencil in the desired position. Using a sewing pencil or vanishing marker, draw an outline of the letter, number or name.
Ready Your Fabric and Sewing Machine
One of the problems that you want to avoid when performing monograms with sewing machines is fabric flagging. Fabric flagging occurs when the needle and thread pulls on the fabric too much as the fabric rises with the needle when it goes up. You will almost see the fabric bounce up and down with the needle, or become scrunched, as there may be skipped stitches or broken threads.
Place interfacing underneath the fabric in the place where the monogram will go. It will keep the fabric taut as you sew so the stitches will look better. Next, select a presser foot that is open in the front. You want something so you can see the drawn line on the fabric. Many monograms are done with zigzag stitch. So you can use the zigzag presser foot or the universal presser foot. Once the presser foot is in place, select your desired thread color.
Start Monogramming
With the heavy-duty interfacing underneath the fabric where the monogram will go, begin tracing your letter with the thread. You can start out with a straight stitch to get the feel of moving your fabric and picking out the right sewing speed to do the letters. Then you can go back over your sewn line with the zigzag stitch.
Once you have the outline completed, you can leave it empty or you can begin filling it in. All you have to do is keep the fabric moving in the same direction each time to have a nice clean look. Once you get the hang of monogramming using one color, you can move on with fancier designs and different colored threads.
One fancy design is to cut out a smaller letter stencil and place it into the larger stencil. So it will look like a smaller letter inside of a larger one. Use one color to trace the outline for the larger letter, and then switch to a different color for the smaller letter outline.
Monogramming can be elaborate or simple based on the design. Once you get the hang of doing monograms with your sewing machine, expand your imagination and create great sewing projects. You will find the task gets easier the more you practice as you will be able to do monograms quickly and with finer details.


